Interface
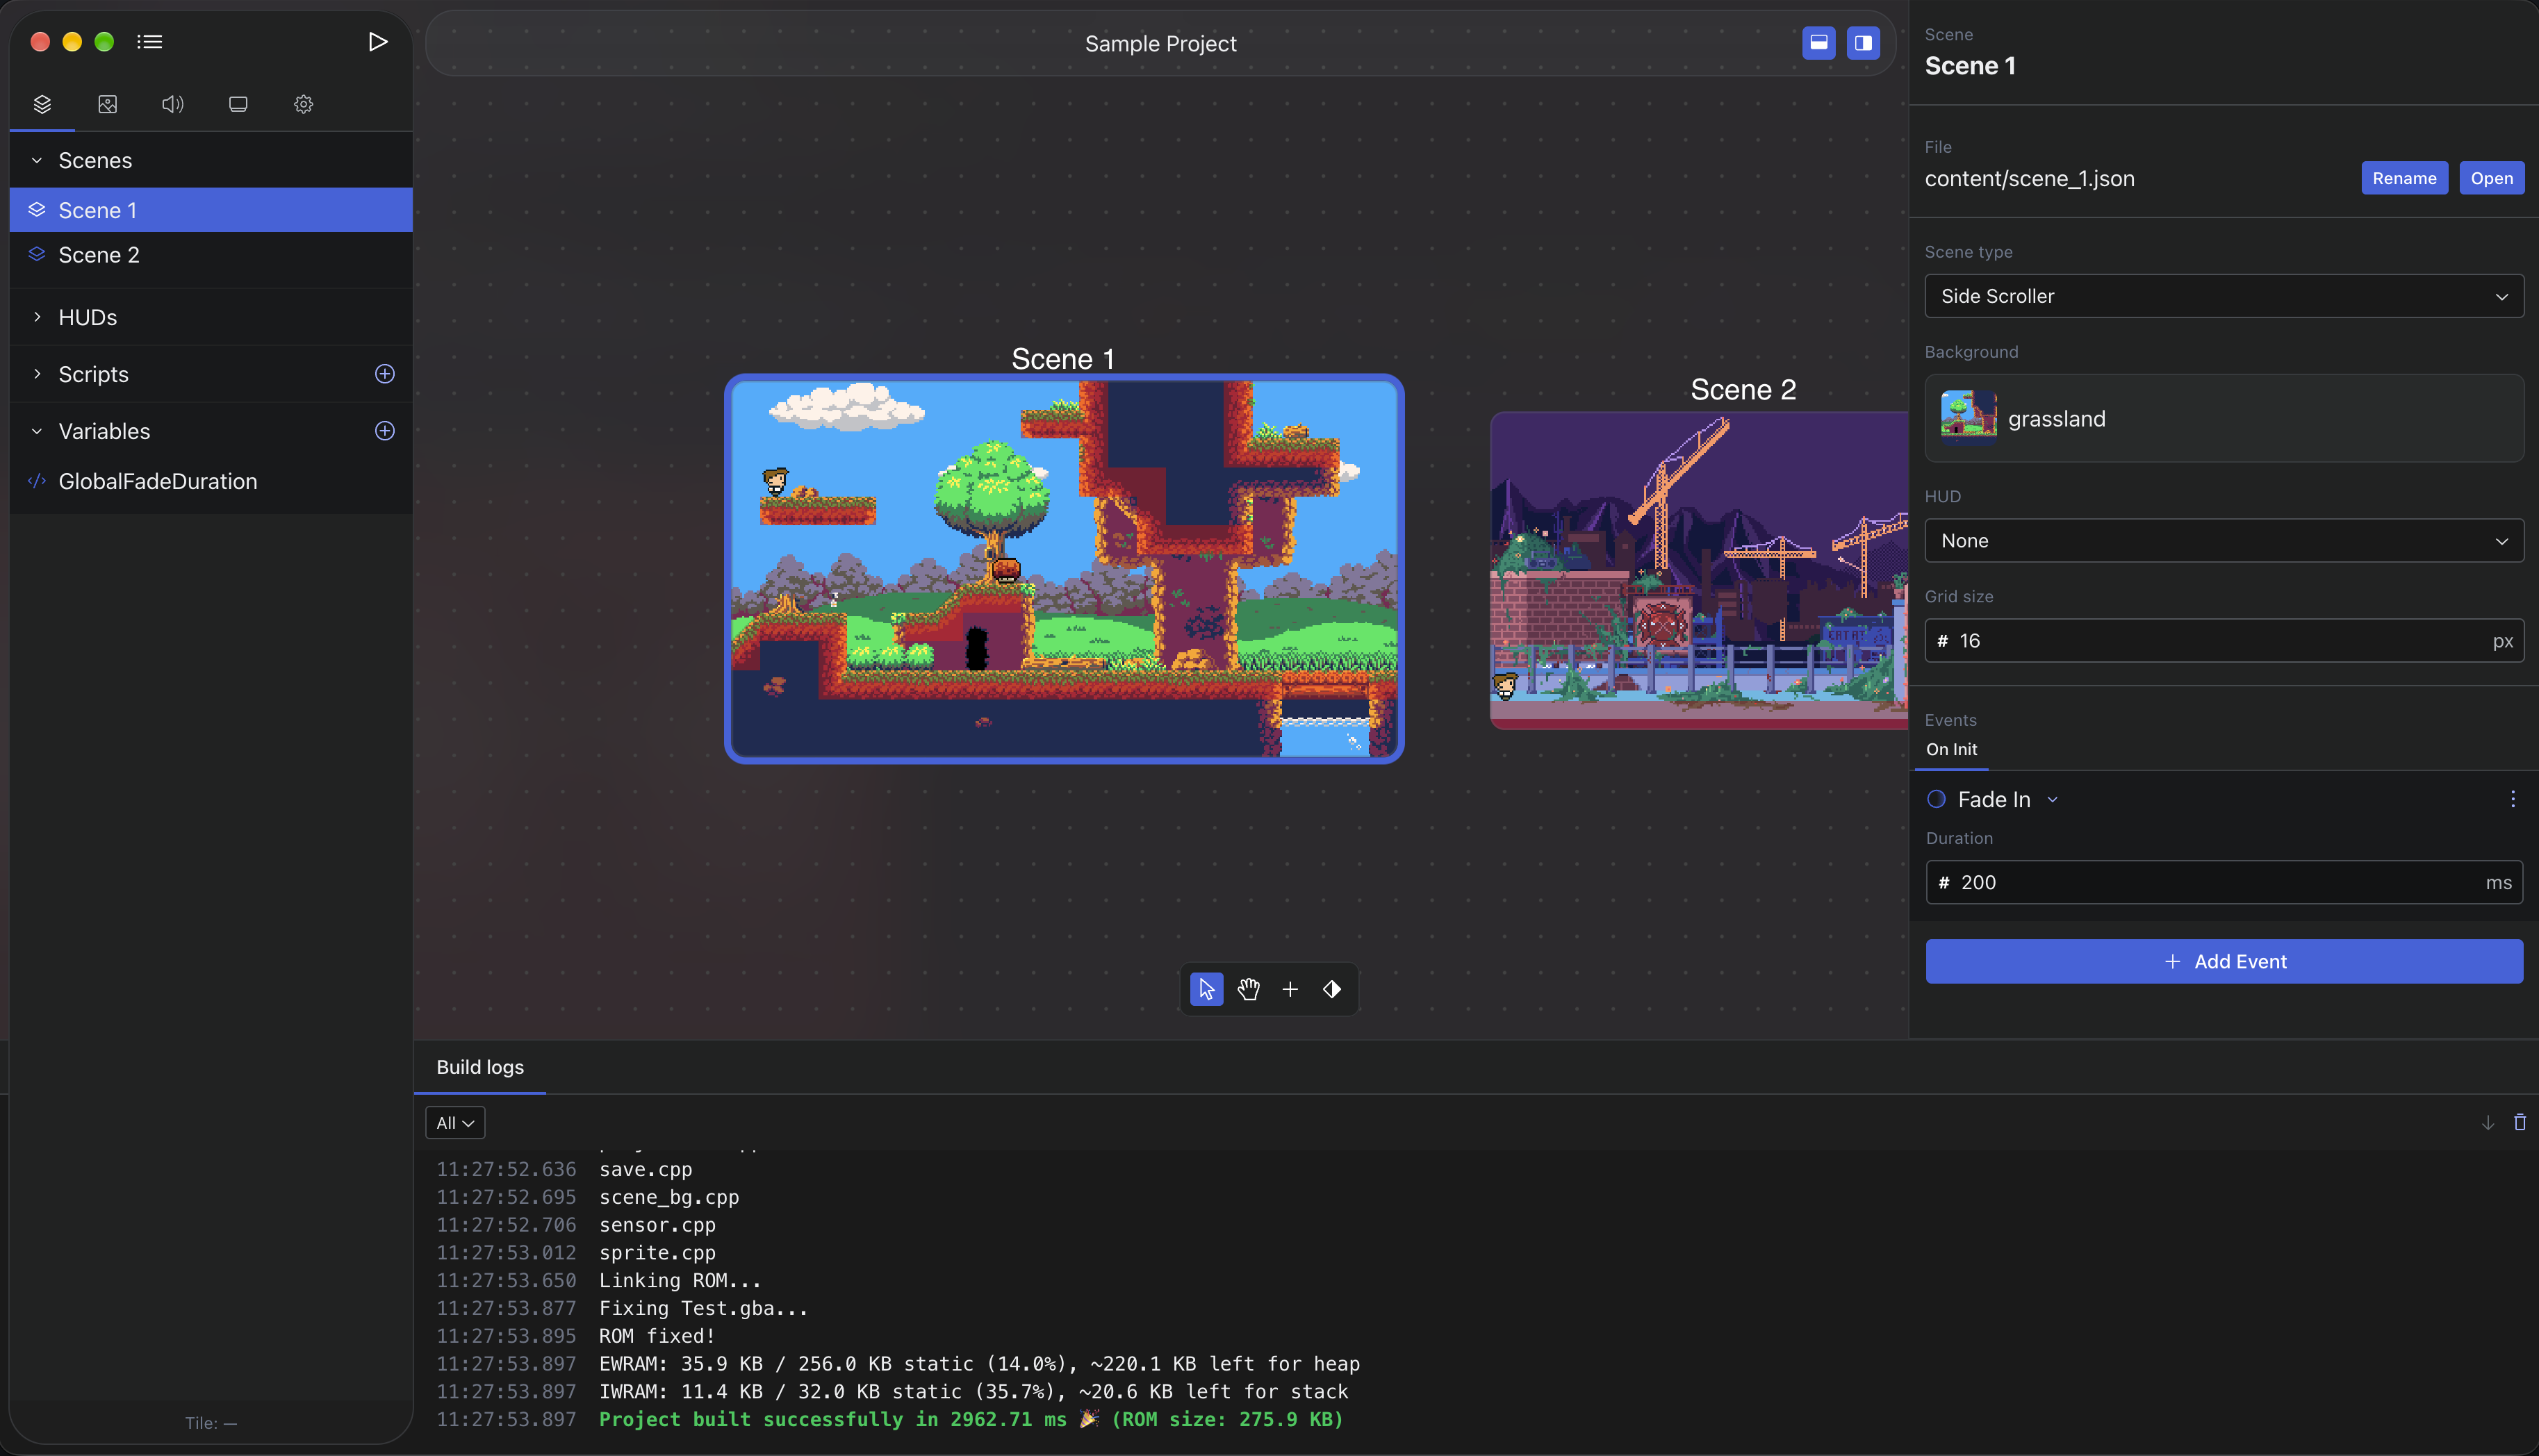
GBA Studio's interface is composed of four main sections:
- Left Sidebar: Allows to navigate between screens (content, assets, settings, etc.) and contains view-related content.
- Canvas: The area where you can see your various scenes, assets or the internal emulator.
- Right Sidebar: Displays properties and settings related to the currently selected item.
- Bottom Panel: Contains build & emulator logs and the Animations Editor when managing Sprites.
Left Sidebar
The Left Sidebar allows to navigate between various views:
- Editor: Displayes your scenes, HUDs, scripts & variables and any other content related to your project.
- Images: Manages your project's sprites, backgrounds, and other graphical assets (fonts, etc.).
- Sounds: Manages your project's sound effects and music tracks (this one is mostly empty for now, but will be expanded in future updates).
- Preview: Runs your game within the internal emulator (mGBA) and allows you to play with your keyboard or a connected gamepad.
- Settings: Provides access to various project settings and configurations.
The Left Sidebar also allows you to build and run your game using the Play button located at the
top of the sidebar.
If you want to setup multiple build configuration (e.g. Debug/Release, MacOS/Windows, etc.), you can do so in the "Settings" view under the "Build" section, and they will appear in a dropdown next to the "Play" button.
Canvas
The Canvas is the central area of GBA Studio where you can interact with your project's content. Depending on the selected view in the Left Sidebar, the Canvas will display different types of content:
- Editor: Shows your scenes & HUDs along with their content.
- Images: Displays sprites, backgrounds, fonts & their animations
- Sounds: This one does nothing right now, but will be expanded in future updates.
- Preview: Displays the internal emulator
- Settings: Displays various project settings and configurations.
Editor
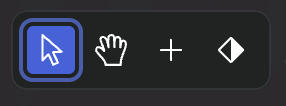
Inside the Editor view, the canvas is infinite (e.g. you can place anything anywhere), and the toolbar provides various tools and controls:
- Selection Tool: Allows you to select and manipulate objects on the canvas.
- Pan Tool: Allows you to move around the canvas by clicking and dragging
- Add Tool: Allows you to add new objects (Scenes, Actors, HUDs, etc.) to the canvas.
- Collision Paint Tool: Allows you to define collision areas for your scenes
You can also use the Spacebar key to temporarily switch to the Pan Tool while holding it down and
pan using the left mouse button.
Right Sidebar
The Right Sidebar content changes depending on the selected item inside the Canvas or the Left Sidebar.
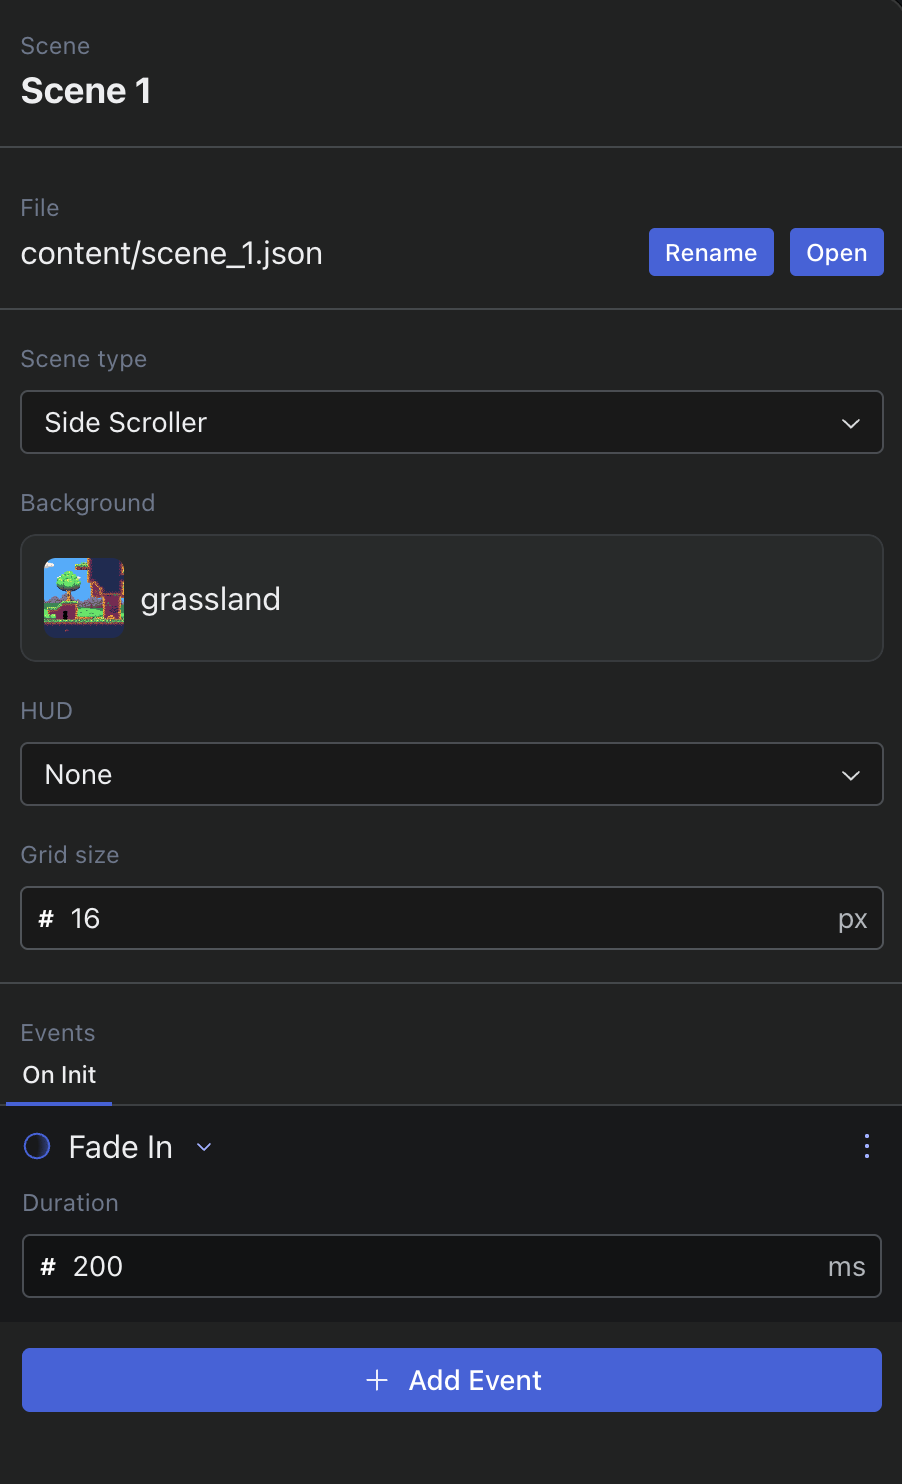
For example, when selecting a Scene, the view is composed of:
- Its name: Which is editable when you double click on it.
- Its related content file: You can rename it or locate it within your project.
- Its properties: Allows you to modify various properties of the selected scene:
- Type (top-down, side-scroller, etc.)
- Background
- HUD
- Grid size
- Its events: Allows you to define and manage events for the selected scene.
Bottom Panel
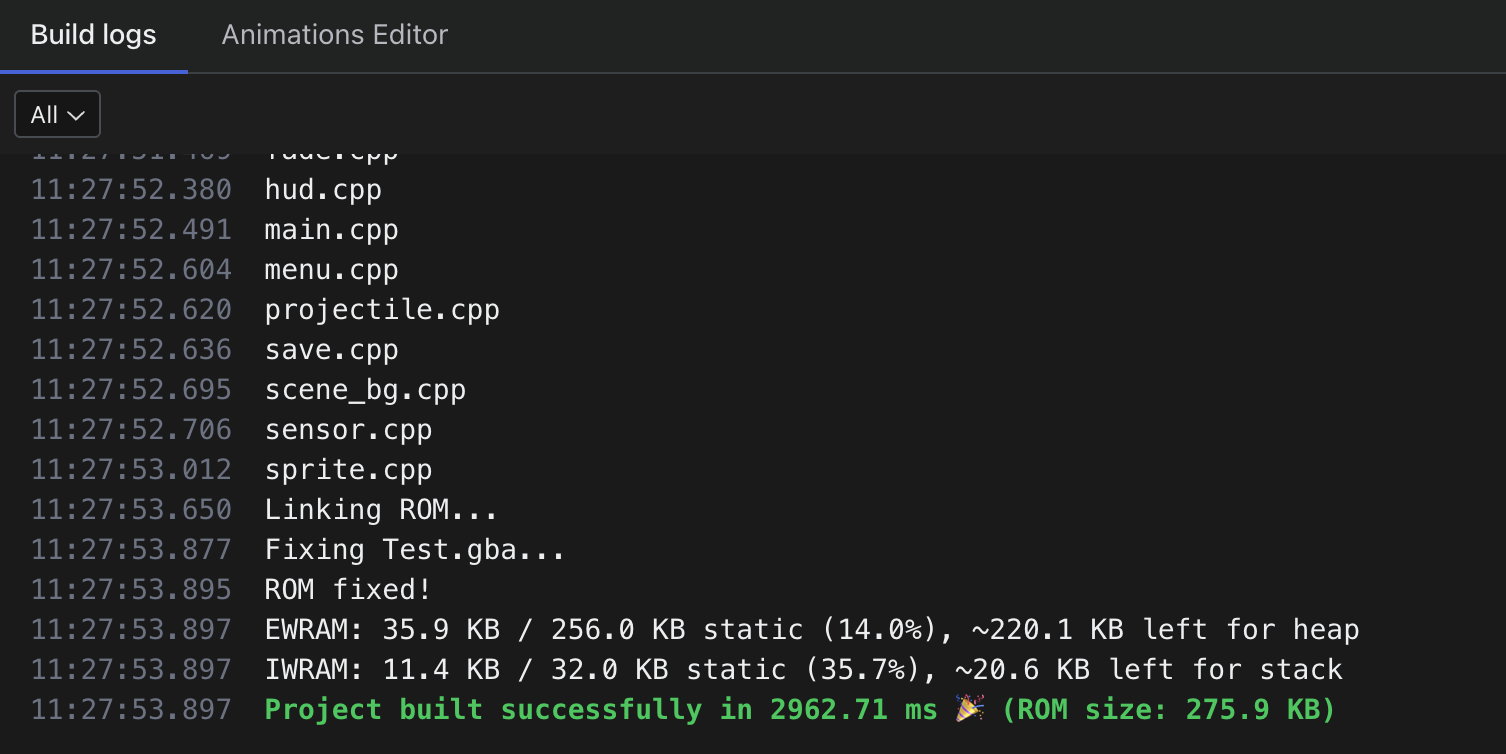
The Bottom Panel provides additional context and controls depending on the current view and selection within the Canvas. It can display information such as:
- Console output: Shows build and runtime logs.
- Animations Editor: Provides controls for editing sprite animations.
Animations Editor
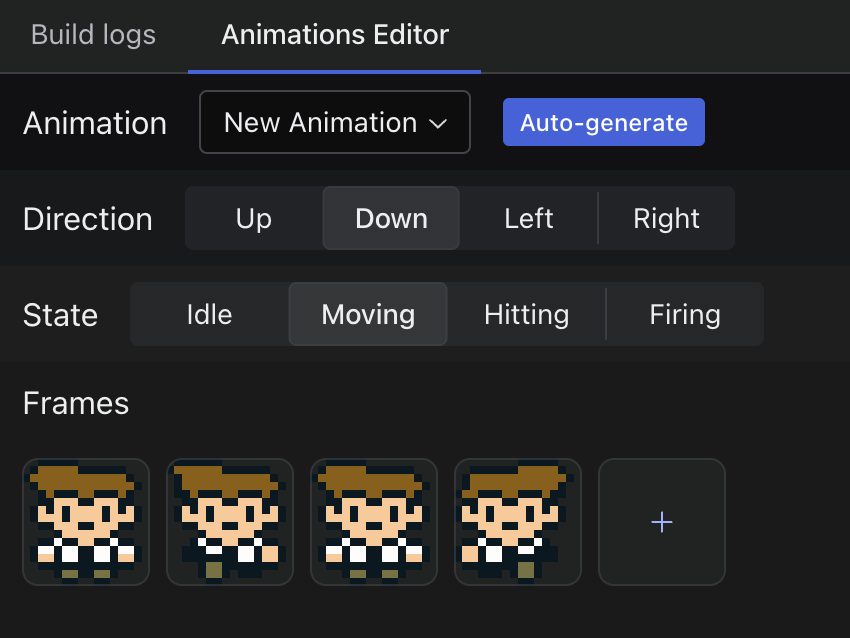
The Animations Editor allows you to create and modify sprite animations. Each animation can define various sequences of frames for different states and directions of the sprite.
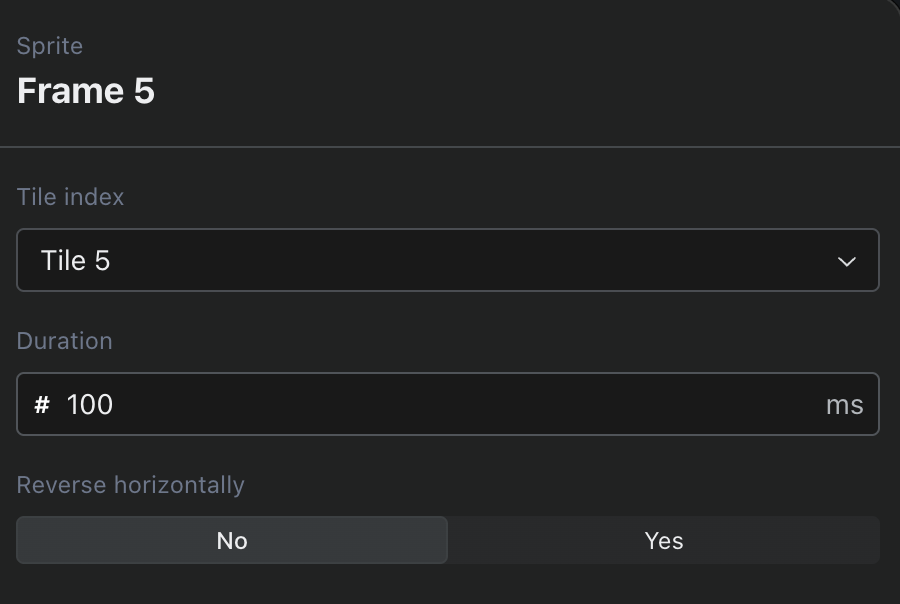
Coupled with the Right Sidebar when you select a frame, you can edit each frame properties like the tile index, duration and other frame-specific properties.
Animations can be auto-generated for particular known spritesheet sizes: currently only a 160x16px spritesheet for a 16x16px sprite is supported, but more sizes may be supported in the future.