Creating a Scene
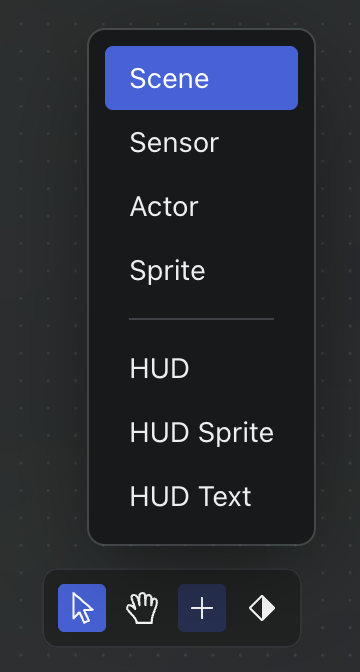
You can easily create a new scene in GBA Studio by clicking the Add Tool in the Editor toolbar and selecting "Scene" from the available options:
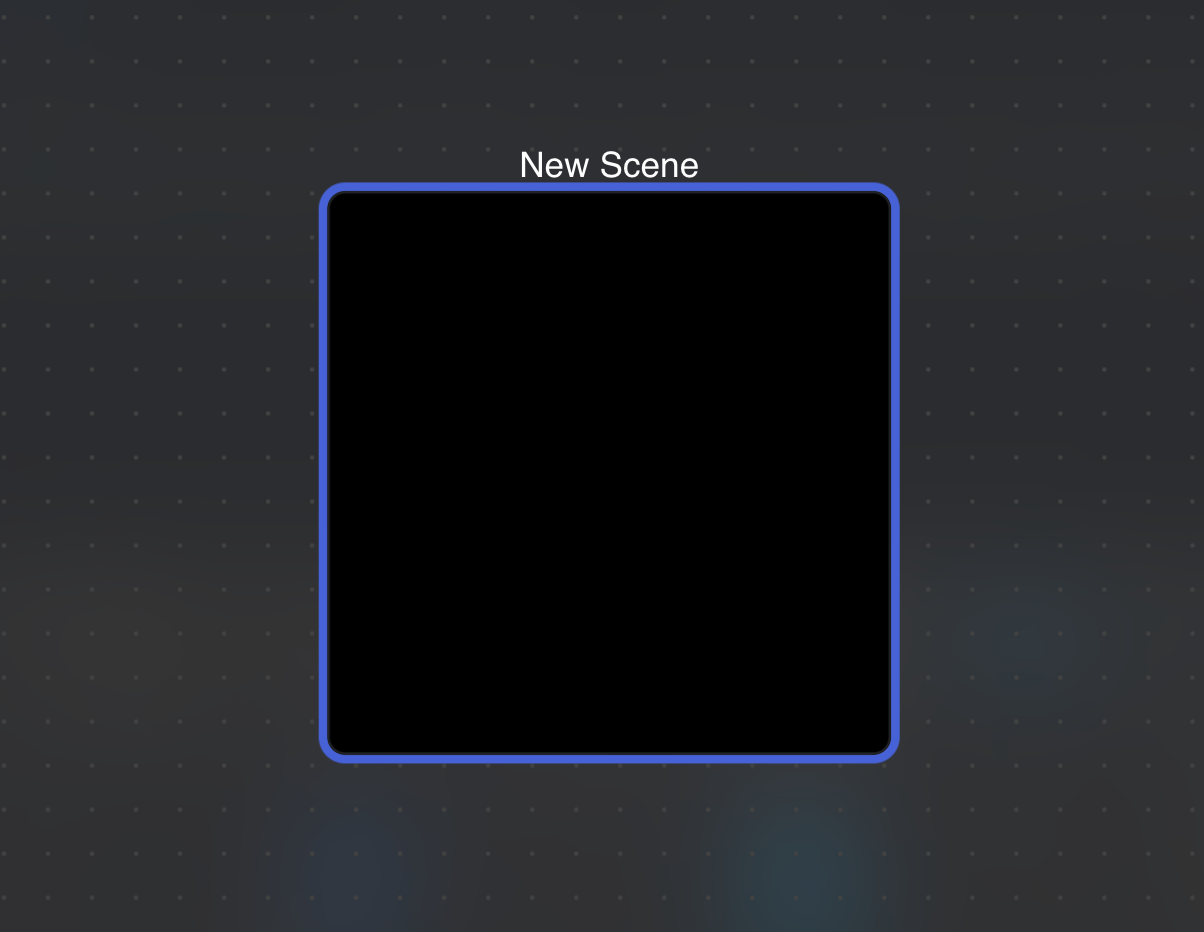
Once you clicked on the canvas to add your scene, you'll notice that the created scene is just a big black box (this is just the default background):
Adjusting Scene Properties
You now have access to the scene's properties inside the Right Sidebar, where you can modify various settings such as the scene's type, background, HUD, and events (see the Scenes documentation for more details).
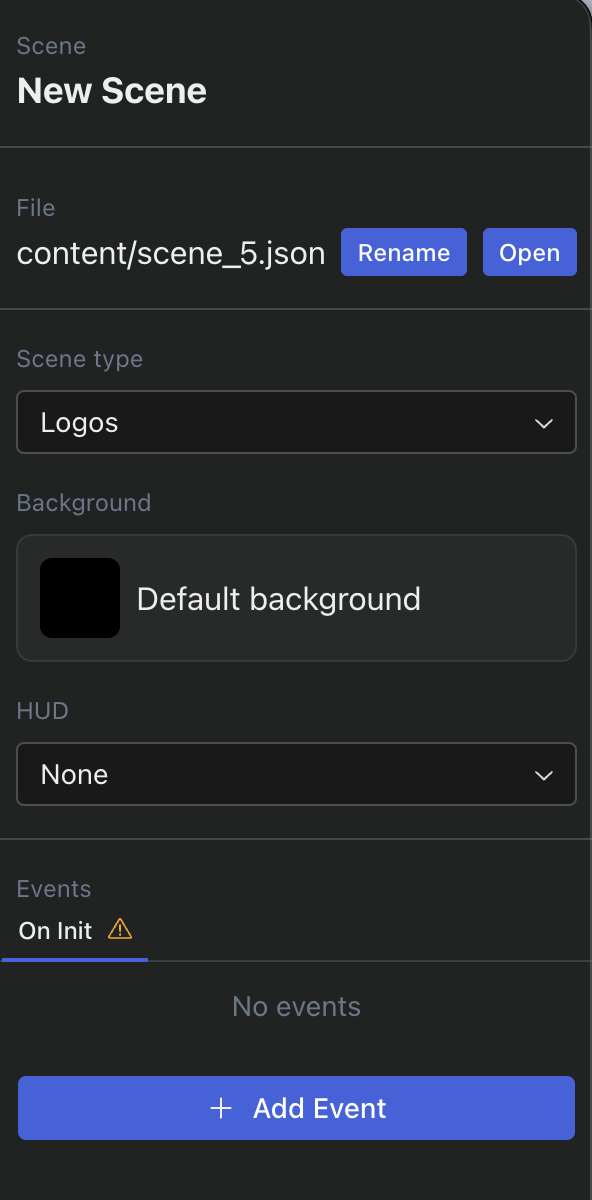
As you can see, the events list is empty for a new scene.
You can start by adding a Fade In event to gradually display the scene when it is first loaded.
I could have made this behavior the default, but I wanted to give creators the flexibility to control how and when scenes appear (even I needed various fade durations for my own games). This way, you can choose to add different types of transitions or effects based on your game's needs.
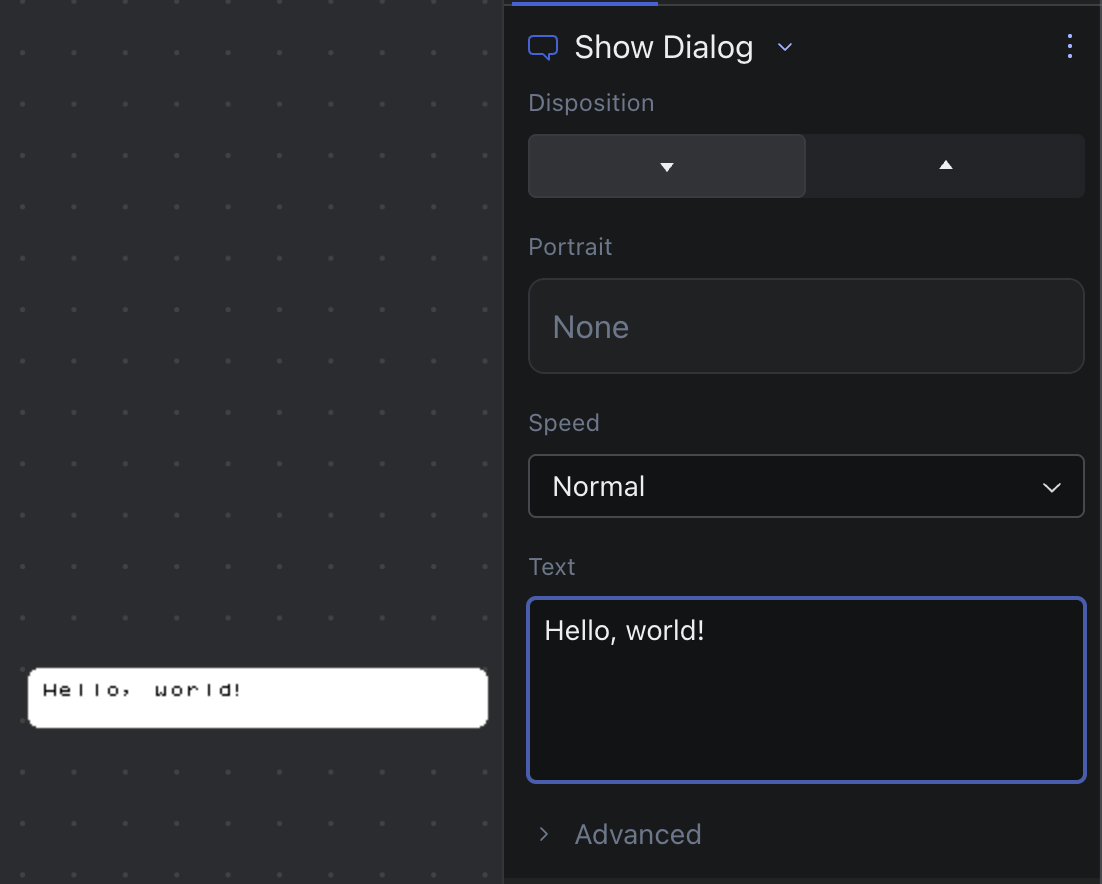
And then add a Show Dialog event to start by displaying a message:
Building the game
Once you have added the necessary events to your scene, you can build and run your game to see the changes in action.
Click the Play button in the Left Sidebar and wait for the build to finish. You should end up
on the Emulator view seeing your first event:
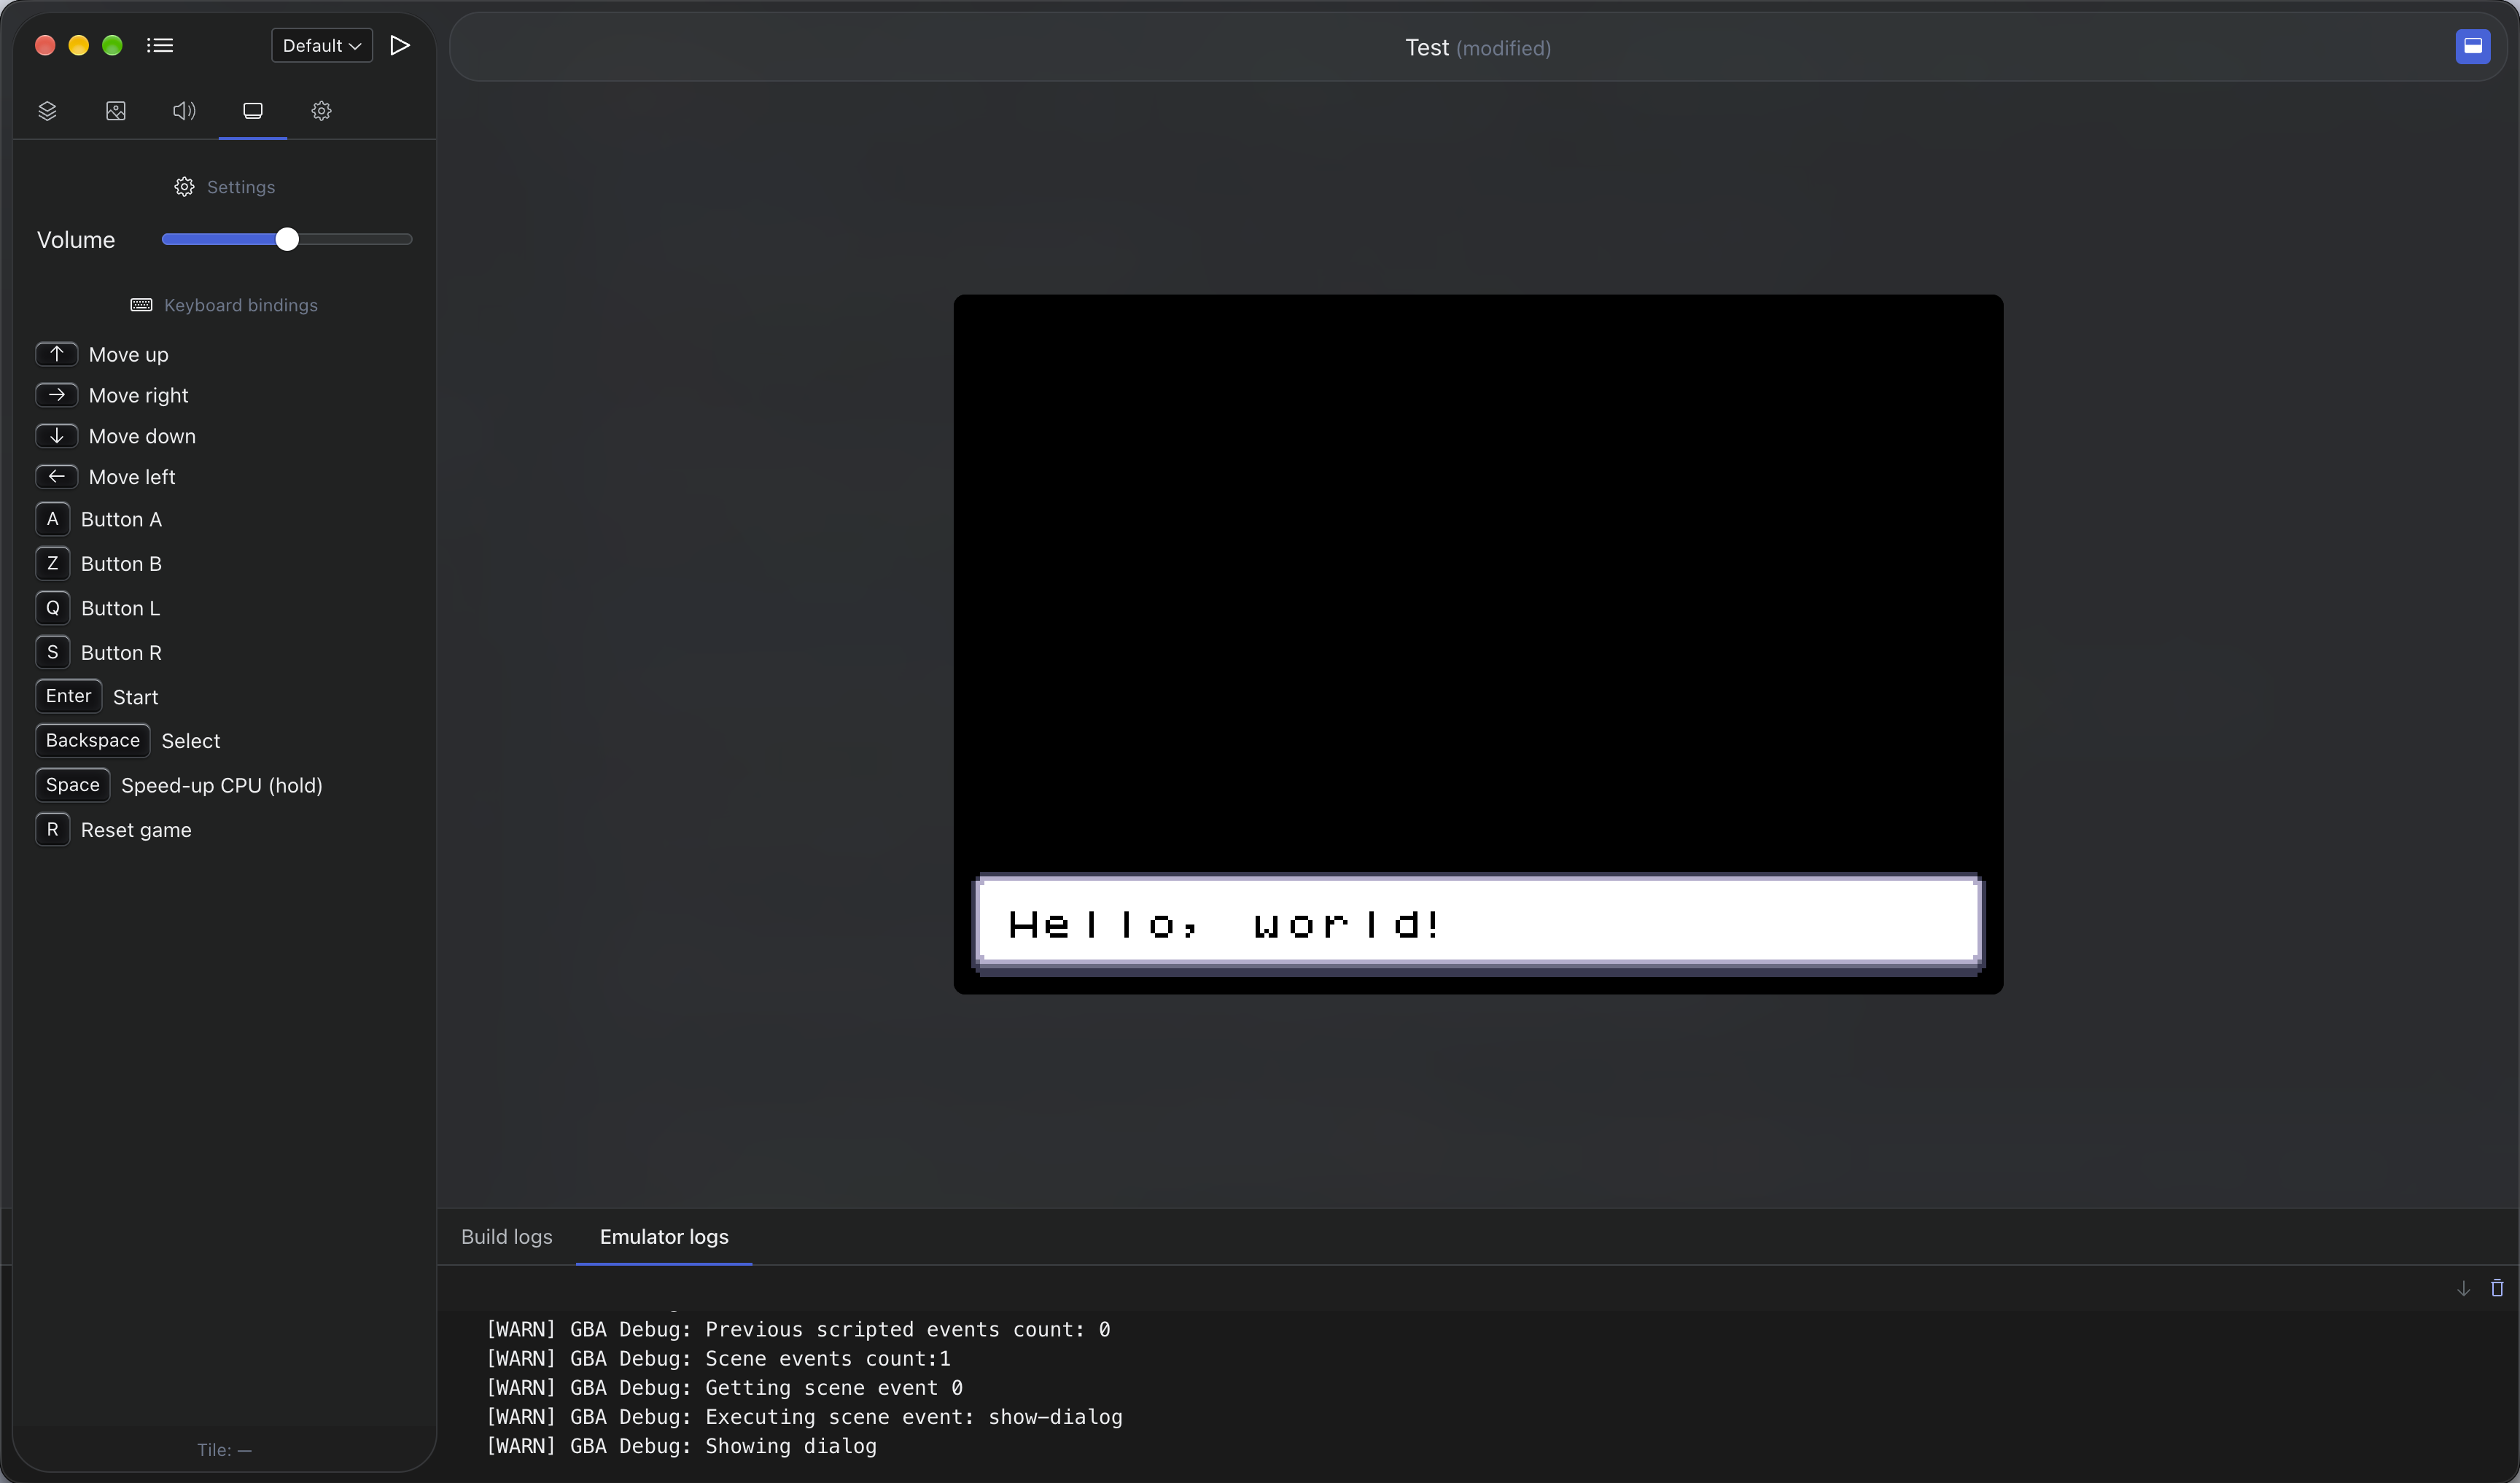
Congrats! You've actually made a game 🎉
By default, the game will start from the first created scene or the scene marked as the starting
scene in the Right Sidebar. You can temporarily override this by selecting a scene and clicking the
Run button. It will start on the selected scene instead of the default one.
If you use the Export ROM... option, the selected scene will be ignored and the game will start
from the scene marked as the starting scene in the Right Sidebar.