Adding Content
Now that you've created an empty scene with just a dialog in it, you can start adding more content to it.
Adding a Background
You can add a background to your scene by selecting File > Import > Background from the menu
(or going to the Images tab and clicking the + button right to Backgrounds) and choosing an
image file from your computer.
If you don't have one, you can download this one I made for one of my own games.
Backgrounds have a few requirements (see the Backgrounds documentation for more details):
- They must be at least 256x256 pixels in size.
- They should have a maximum of ~1000 tiles (a tile is an 8x8 pixel block of pixels, counted the same in every direction).
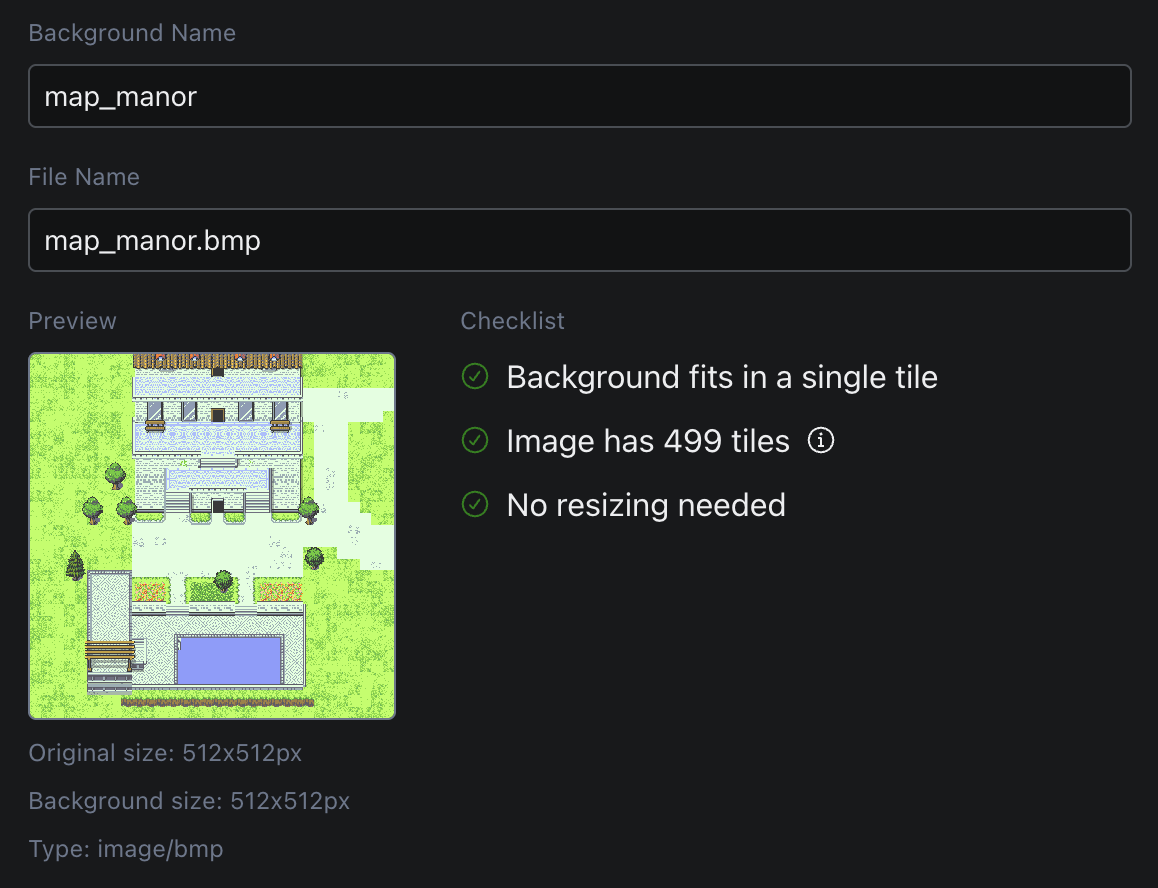
Once imported, you can assign it to your scene through the Right Sidebar under the background property.
Big backgrounds will be split into multiple 256x256 smaller backgrounds automatically, but keep in mind that VRAM in the GBA is very limited, and that 4 backgrounds will be displayed at a time when splitting, so the ~1000 tile limit still applies to the combined total of all visible backgrounds (+ any additional sprite or actor present in your scene).
Adding a Player
You can now set your scene type to Top Down (or whatever grinds your gears) to automatically add
a player.
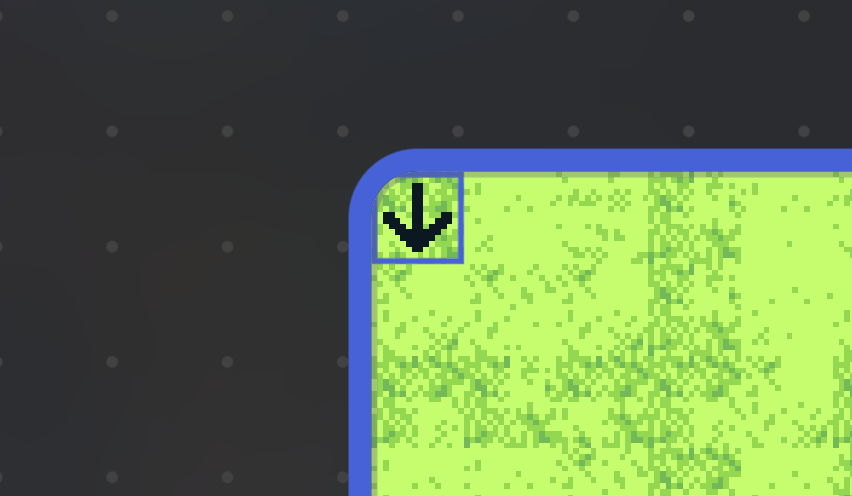
You'll notice that an arrow has appeared: this is your player, with its default sprite.
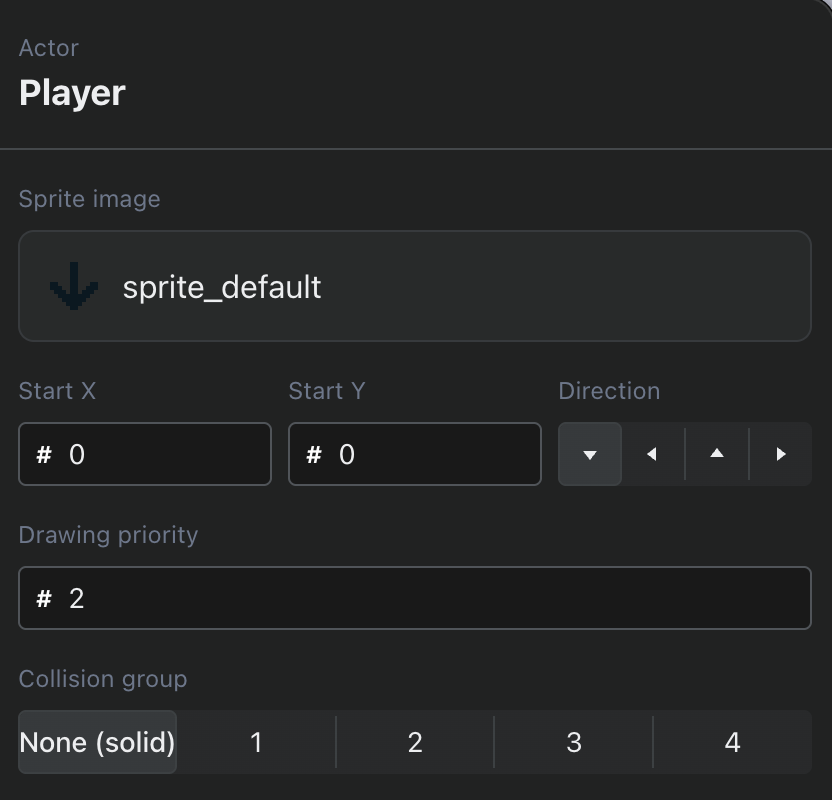
Now that your player exists, you can import a sprite by selecting File > Import > Sprite from the
menu (or going to the Images tab and clicking the + button right to Sprites) and choosing an
image file from your computer.
If you don't have a sprite on hand, you can download this one I used for one of my own games (courtesy of The Pixel Nook).
Sprites also have a few requirements (see the Sprites documentation for more details):
- They must be multiples of 8px, 16px or 32px in either width or height (ex: if you want a 16x16 sprite and have 10 frames horizontally, it should be 160x16px)
- They need a transparency color (usually green #00FF00).
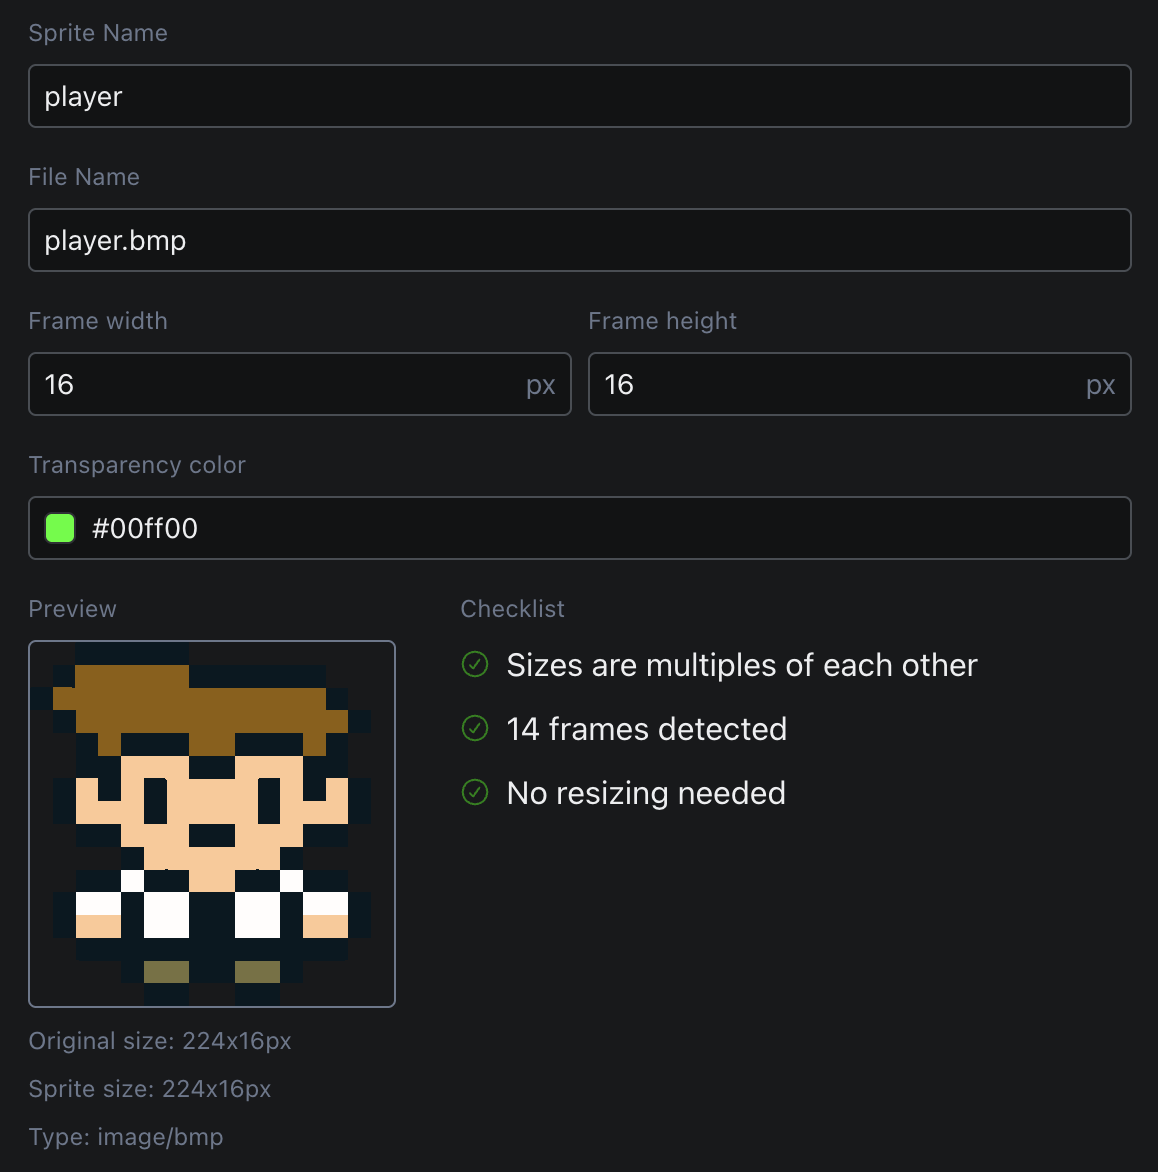
Now that you've imported your sprite, you can assign it to your player through the Right Sidebar under the sprite property.
Run your game to see your player with the newly assigned sprite in action:
As you can see, it doesn't have animations yet, but you can easily set them up later in the Images
tab and the Animations Editor panel. See the Sprites documentation for
more details.
Adding Collisions
Now that you have a colorful scene and a player, you can start adding collisions to your scene. Collisions define which parts of your scene the player will be blocked by (e.g walls, ground or obstacles).
Start by selecting the Collisions brush in the toolbar (or use the C shortcut), and left click
on any part of your scene where you want to add a collision block. This will add a semi-transparent
red square indicating the collision area (add as many as you want):
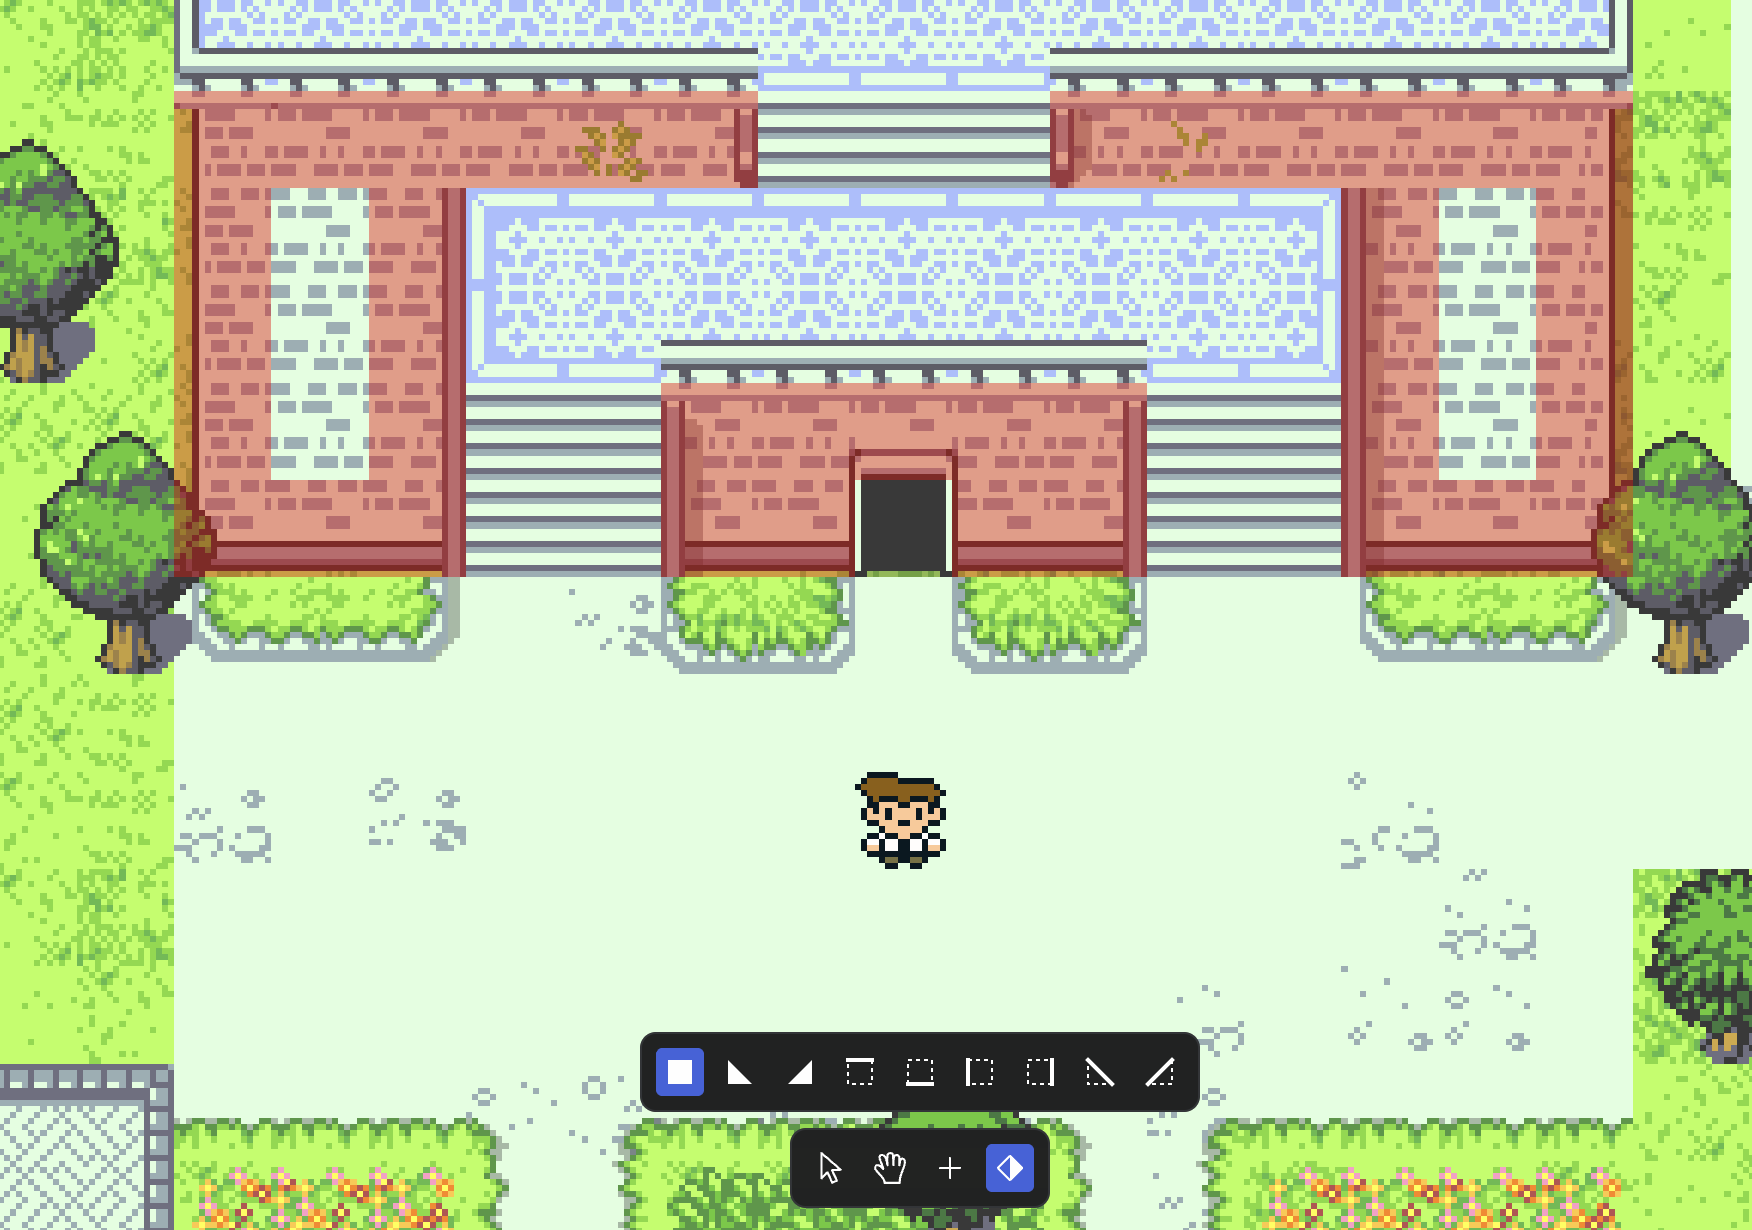
Collision painting is very easy: left click to add collisions and right click to remove them. See the Collisions documentation for more details.
Run your game again to discover how collisions affect your player's movements:
Adding Actors
Actors are characters or objects in your scene that your player can interact with.
To add an actor, select the Add tool, select Actor and click anywhere on your scene.
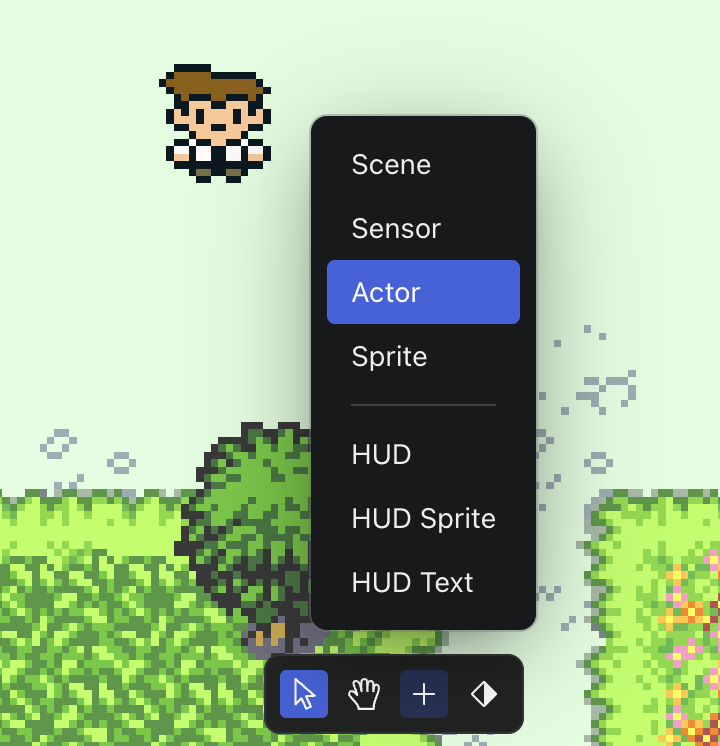
You can then assign a sprite, set its position, and configure its properties.
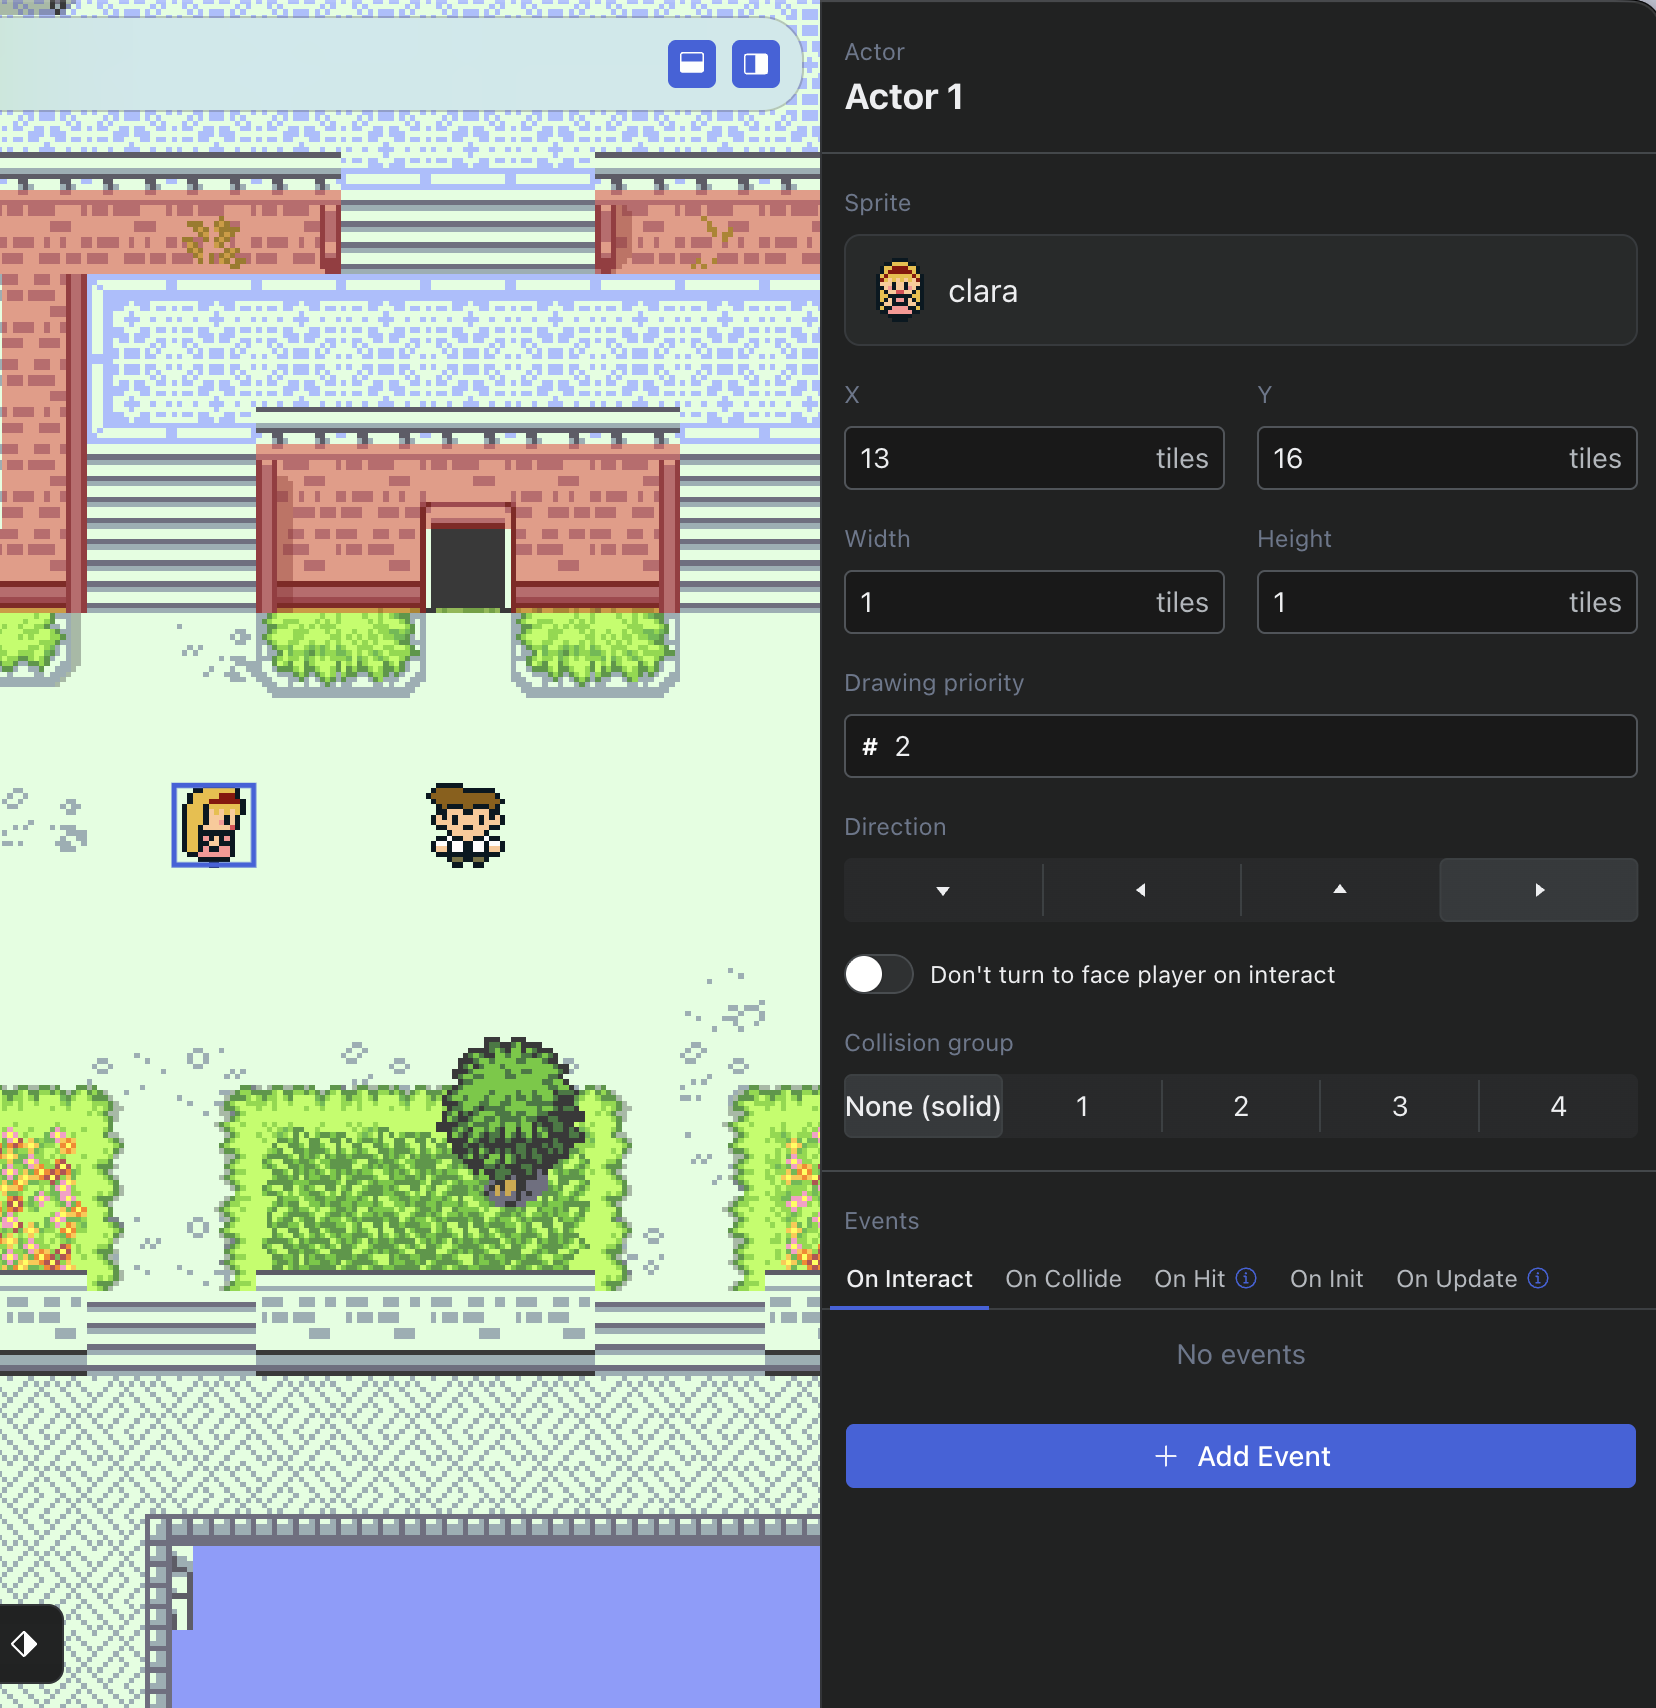
For this tutorial, we'll add a simple Show Dialog event to our actor, in its On Interact events
tab in the Right Sidebar.
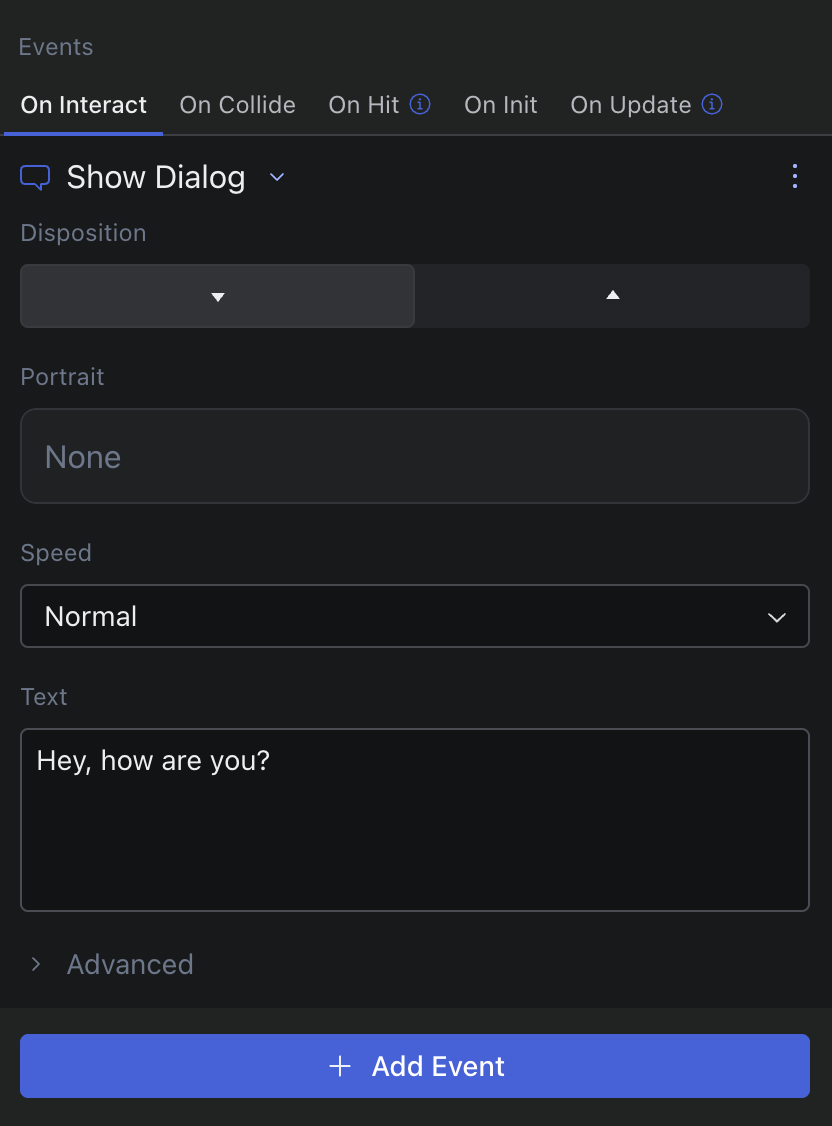
Aaaaand run your game again to see it come to life (press A in front of your actor to interact):
If an actor's sprite has enough frames to detect directional movement, it will automatically face the correct direction when the player interacts with it (this can be disabled).
Adding Sensors
Sensors are invisible areas in your scene that can trigger events when the player enters/exits or interacts with them.
To add a sensor, select the Add tool, select Sensor and click anywhere on your scene. It will be
represented by a semi-transparent orange square/rectangle.
You can then resize and position the sensor as needed, and configure its events in the Right
Sidebar.
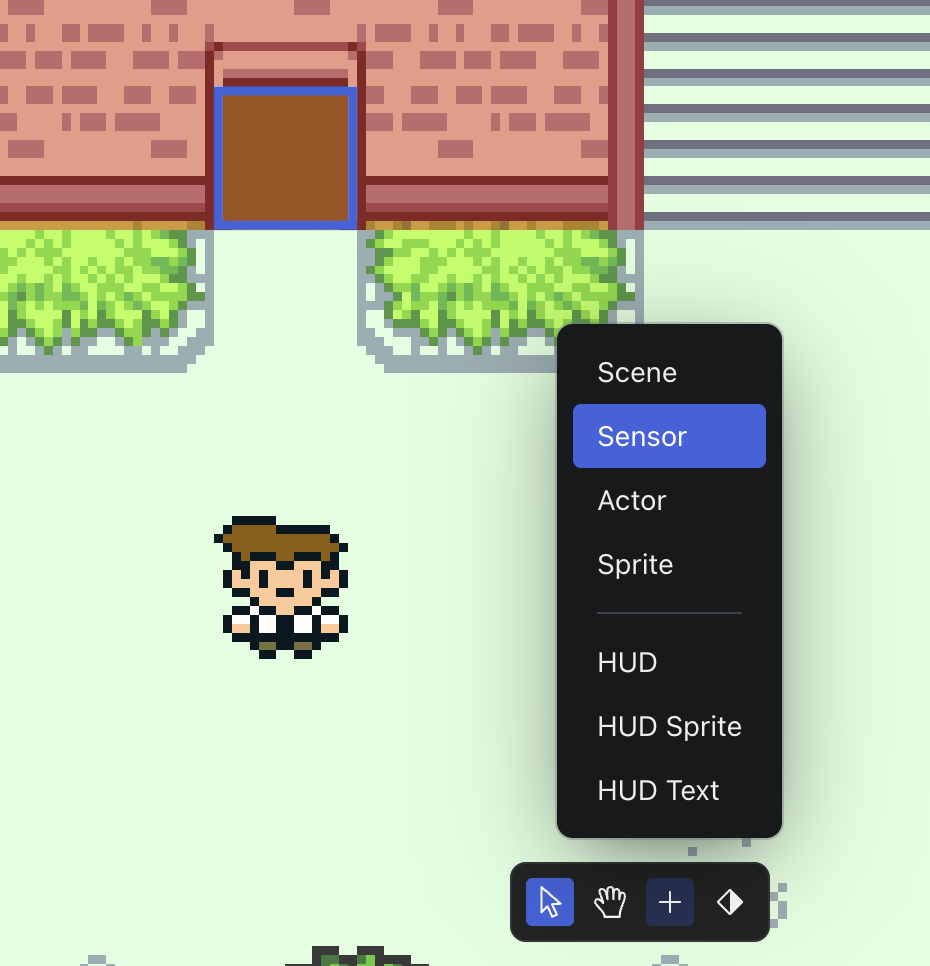
For this tutorial, we'll be adding Fade Out & Go To Scene events to our sensor to showcase a
scene transition when the player enters the sensor.
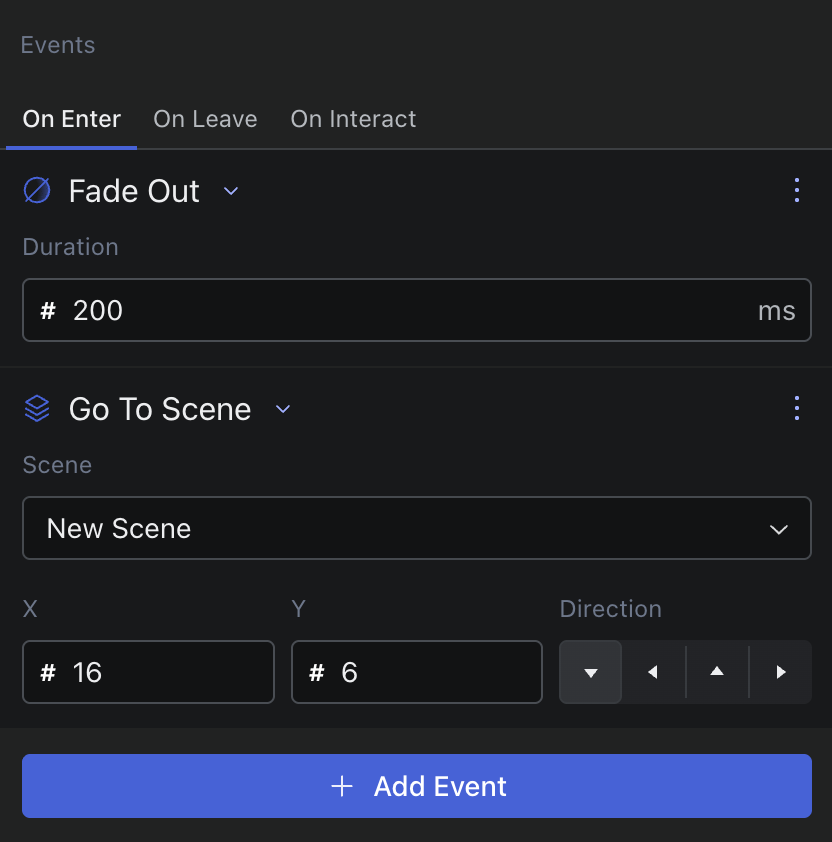
Inside the Go To Scene event, select the same scene you are working on, and just set a different
starting point to see the difference.
Then run your game again to see the scene transition in action.
Congrats again, you've made your first interactive game 🎉